


Streaming services are convenient, but they have made a lot of people more aware of what they do not actually control. Prices change, libraries rotate, and a movie you paid to rent or buy through a platform can still feel tied to someone else’s rules.
That is one reason a personal media server still makes sense. If you have old home movie DVDs, public-domain discs, or other media you can lawfully store for personal use, Plex can turn those files into a private streaming library that works across phones, tablets, TVs, computers, and streaming boxes.
The process is not complicated, but it is worth doing carefully. You need a way to read the disc, software to create a digital file, a sensible folder structure, and Plex Media Server pointed at the right location. Once that is done, Plex can scan the files, add artwork and metadata where available, and make the library easier to browse.
Before starting, be careful with copyright and disc protection. DVD ripping laws vary by country, and discs with DRM or copy protection can raise legal issues even when you own the physical disc. This guide is best applied to personal home videos, public-domain material, and other media you have confirmed you are allowed to digitize for private use. Do not share copyrighted files through your server.
What You Need Before You Start
A basic DVD-to-Plex setup does not require a complicated home lab. For a small library, a regular desktop or laptop can be enough. For a larger collection, you may eventually want external storage or a NAS, but you can start simple and move the files later.
At minimum, plan on having:
- A computer that can run ripping software and Plex Media Server
- An internal DVD drive or an external USB DVD drive
- Enough storage space for the finished video files
- A folder structure for movies, TV shows, or home videos
- A free Plex account for setting up and accessing your server
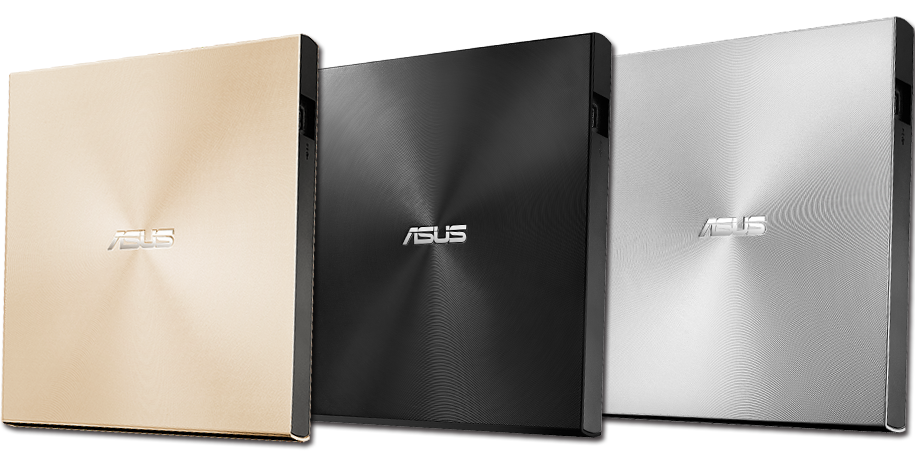
ASUS ZenDrive U9M External DVD Drive
A slim USB DVD drive is enough for standard DVD projects when your laptop or desktop no longer has an optical drive. Check your disc collection first, since Blu-rays require Blu-ray-compatible hardware.
As an Amazon Associate I earn from qualifying purchases.
An external USB DVD drive is usually the easiest purchase if your current computer no longer has an optical drive. You do not need anything extravagant for standard DVDs, but make sure the drive supports the disc types you actually own. If you also have Blu-rays, you will need compatible Blu-ray hardware instead.
Storage matters more than most people expect. A single DVD can hold several gigabytes of data, and a large collection will fill a laptop drive quickly. An external HDD is usually the cheaper choice for bulk storage, while an SSD is quieter and faster but costs more per terabyte. Either can work for Plex as long as the drive is connected whenever the server needs access to the files.
Step 1: Rip the DVD to a Digital File
The first step is creating a video file from the disc. Insert the DVD into your computer’s internal drive, or connect an external USB DVD drive and load the disc there.
Modern Windows and macOS systems do not include a full built-in DVD ripping workflow for turning discs into Plex-ready video files, so most people use third-party software. Common options include:
- HandBrake, a free video transcoder available for Windows, macOS, and Linux
- WinX DVD Ripper Free Edition, which offers free and paid options
- DVDFab DVD Ripper, a paid option with a broader commercial feature set
The exact screens vary by app, but the basic workflow is similar: choose the DVD as the source, select the title you want to convert, choose an output format, then start the encode. If the disc contains home videos, the correct title is usually obvious. Commercial movie discs can contain menus, extras, trailers, and multiple title tracks, which is another reason to be cautious about what you are digitizing and whether you are allowed to do it.
For Plex, MP4 and MKV are the two common container formats. MKV is often a good choice when you want to preserve multiple audio tracks or subtitles, while MP4 is widely compatible across devices. Plex can handle many formats, but your playback experience depends on the client device, your server hardware, and whether Plex needs to transcode the file during playback.
Do a short test before committing to a full collection. Rip one disc, play the file locally, then add it to Plex and test it on the devices you actually use. That small trial can save hours if your first settings produce files that are too large, missing subtitles, or awkward to stream.
Step 2: Organize the Files So Plex Can Read Them Cleanly
Once you have digital files, resist the urge to drop everything into one folder with casual names. Plex works best when your library is separated by media type and named consistently.
A simple movie folder might look like this:
- Movies
- Movies/Movie Name (Year)/Movie Name (Year).mkv
For TV-style content, use show and season folders:
- TV Shows
- TV Shows/Show Name/Season 01/Show Name s01e01.mkv
Home videos do not always fit neatly into movie and TV metadata systems, so use names that will still make sense to you later. Dates, locations, events, and family names are usually more useful than generic filenames exported by ripping software.
For example:
- Home Videos/1998 Birthday Party.mkv
- Home Videos/2004 Summer Vacation.mkv
- Home Videos/2011 School Concert.mkv
If your internal drive is small, move the finished files to external storage before adding the folder to Plex. A USB hard drive is fine for many home setups. A NAS is better if you want the media stored in one network-accessible place, especially if your Plex server runs on a separate computer or mini PC.
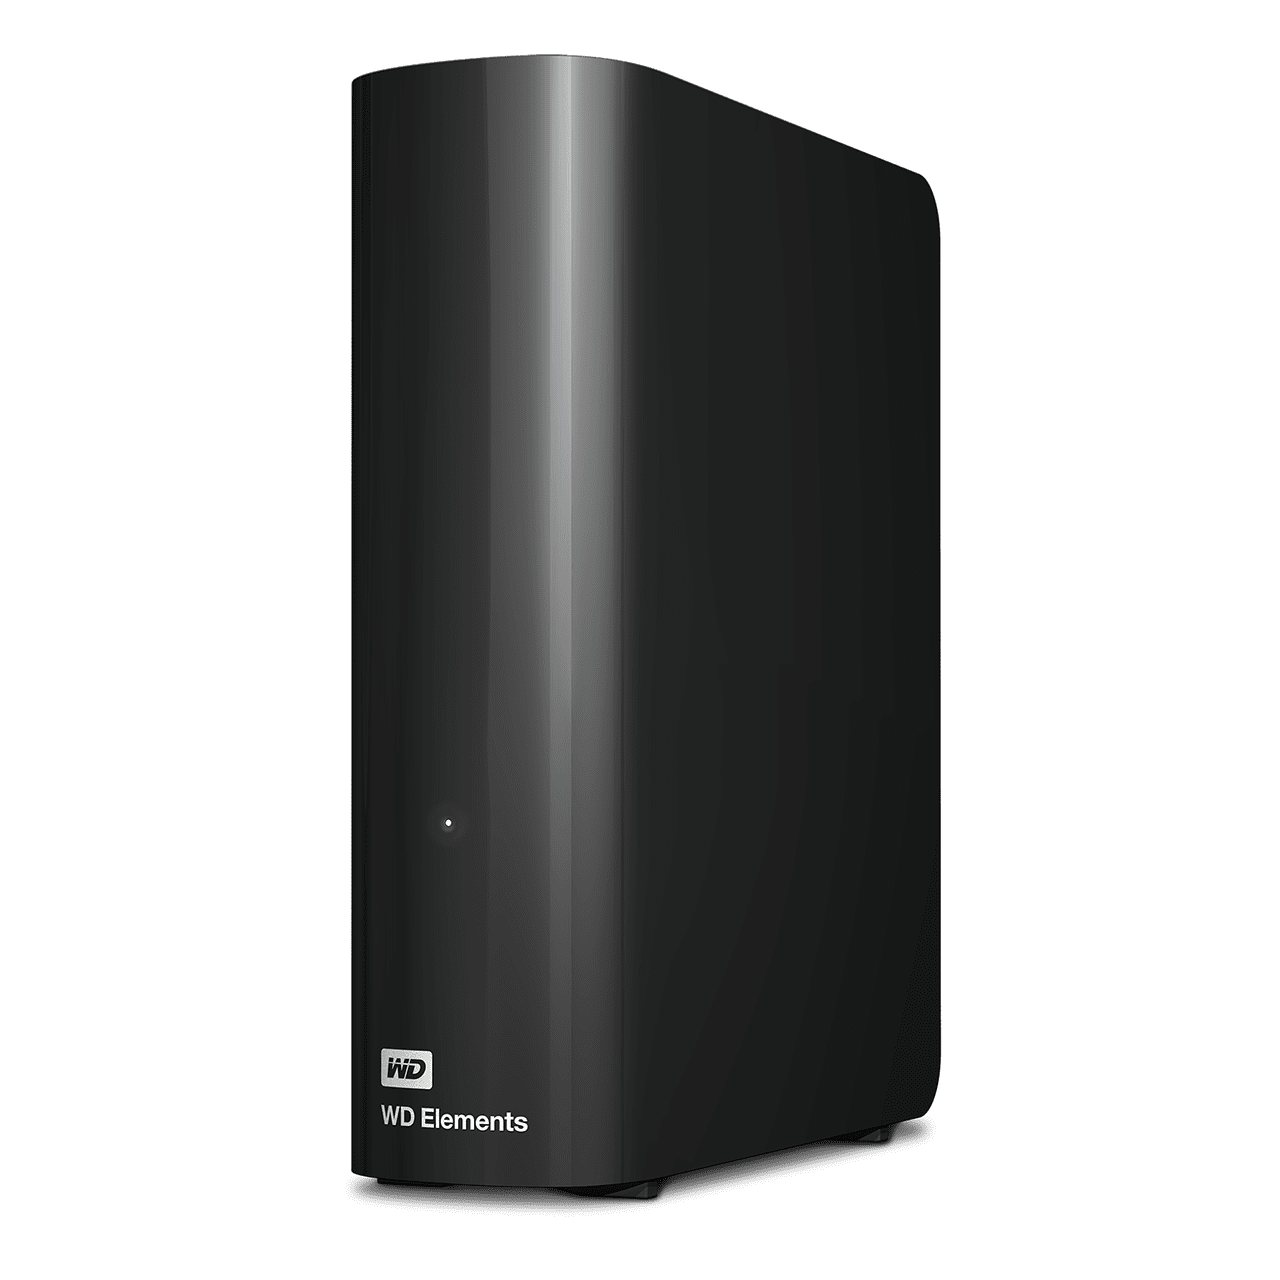
WD Elements Desktop External Hard Drive
A desktop external hard drive is a practical choice when you want more space for ripped DVDs without moving straight to a NAS. Keep it connected to the Plex server whenever you want those files available.
As an Amazon Associate I earn from qualifying purchases.
This is also the time to decide whether you want one big library or several smaller ones. For example, you might create separate Plex libraries for Movies, TV Shows, and Home Videos. That keeps personal recordings from being mixed with films and makes browsing less messy.
Step 3: Add the Folder to Plex Media Server
After your files are ripped and organized, install Plex Media Server on the computer that will host the library. This is separate from the regular Plex playback app. The server manages your media files, while the Plex app or web interface lets you watch them.
During setup, Plex will ask you to sign in or create an account. The basic personal media server features are free, though Plex also offers paid features through Plex Pass. For this kind of local library setup, you can start with the free server and decide later whether any paid extras are useful.
To add your ripped DVD files:
- Open the Plex web interface for your server.
- Find the library section and choose the option to add a library.
- Select the library type, such as Movies, TV Shows, or Other Videos.
- Point Plex to the folder that contains your organized files.
- Let Plex scan the folder and build the library.
Plex will try to match movies and shows with posters, descriptions, release years, and other metadata. Clean naming improves those matches. If something is identified incorrectly, you can manually fix the match or edit the item inside Plex.
For home videos, you may prefer to use an “Other Videos” style library or manually adjust titles and artwork. Plex can still make the files easy to browse, but it may not have public metadata to pull from the way it does for a well-known film or TV series.
A Few Settings Worth Checking
Once the library appears, test playback on the devices you care about most. A file that plays perfectly in a desktop browser might behave differently on a smart TV app or an older streaming stick.
Pay attention to three things:
- Video quality: Make sure the rip looks good enough on your TV, not just on a laptop screen.
- Audio tracks: Confirm the correct language, commentary track, or stereo/surround mix is available.
- Subtitles: Check that subtitles were included or stored alongside the video file if you need them.
If playback stutters, your server may be transcoding the file into a format the device can handle. That can be demanding on weaker hardware. In that case, try a more compatible output setting in your ripping software, use a different Plex client, or store the file in a format your main playback device can direct play.

NVIDIA SHIELD TV Pro
A strong Plex client can reduce playback headaches, especially when your main TV app struggles with formats or subtitles. The SHIELD TV Pro also supports Plex Media Server for smaller setups, though larger libraries may still belong on a dedicated computer or NAS.
As an Amazon Associate I earn from qualifying purchases.
The Payoff Is a Library You Control
Moving DVDs to Plex takes some patience, especially if you have a large stack of discs, but the workflow is straightforward once you settle on your settings. Rip one disc, check the file, name it properly, store it in the right folder, and let Plex scan it.
The result is a private media library that feels much closer to a streaming service than a folder full of video files. You can browse by poster, resume playback, stream around the house, and keep old recordings accessible on modern devices.
The important part is staying within material you are allowed to digitize and keeping the setup personal. Used that way, Plex is a practical bridge between an old DVD shelf and the way most people actually watch video now.