

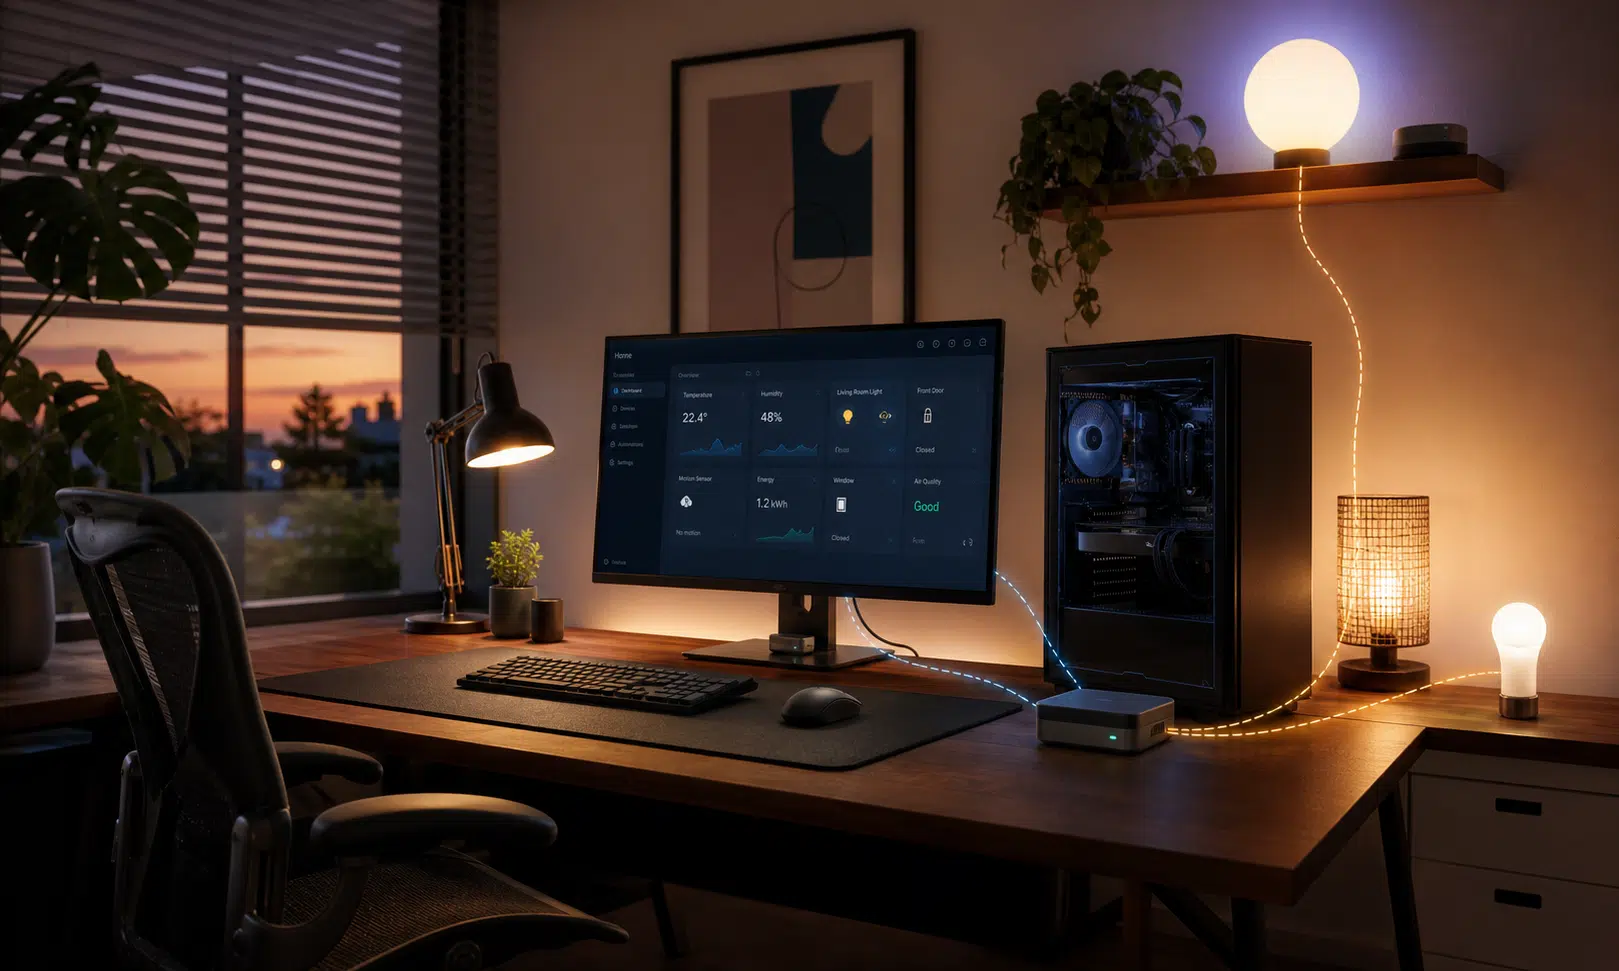

Smart home room tracking can be surprisingly bad at the exact moment you need it to be reliable. A motion sensor can see you walk into an office, but if you sit still for long enough while reading, writing, watching a video, or taking a call, the room may eventually look empty to the automation system.
That is why a desktop PC can be such a useful input for Home Assistant. It already knows things a wall-mounted motion sensor cannot easily infer: whether the session is locked, whether a microphone or webcam is active, which process is running, whether system load has changed, and whether the computer is being used.
Used carefully, that information can make office automations feel less like guesswork. The goal is not to replace every dedicated sensor in the house. It is to stop treating the PC as a separate island when it can provide useful local context for the room where you spend hours sitting still.
Why a PC can be a better office sensor than motion alone
A motion sensor is still useful for detecting entry, exit, and movement. The problem is that desk work often involves very little movement. If the automation only sees motion events, it has to guess whether you are still there after a timeout.
A PC-based sensor changes the question. Instead of asking only, “has anything moved recently?” Home Assistant can also ask whether the workstation is active, locked, in a call, or running a specific type of application. That makes the automation more closely tied to what is actually happening at the desk.
Some practical examples include:
- Keeping office lights on while the workstation is active, even if the motion sensor has gone quiet.
- Dimming lights or changing an outside status light when the webcam or microphone is in use.
- Turning off task lighting shortly after the PC is locked.
- Changing bias lighting or blinds when a game or demanding full-screen app is running.
- Using PC idle state as one more signal before deciding the room is empty.
None of this needs to be dramatic. The best version is usually a simple rule that prevents annoying behavior, such as lights turning off while you are still at the keyboard.
The local-first approach is the main appeal
For many Home Assistant users, the strongest argument for PC state tracking is that it can be done locally. Tools such as HASS.Agent, HASS Workstation Service, and IoT Link-style Windows integrations can publish sensor data to Home Assistant over MQTT, depending on the tool and configuration.
That matters because PC state data can be sensitive. Active windows, running processes, microphone state, webcam state, and working hours are not the kind of details most people want sent through an unnecessary cloud service. Keeping the path inside the local network reduces exposure and means the automation can still work when the wider internet is unavailable.
It does not make the setup magically immune to security problems. You still need sane local credentials, a patched Home Assistant installation, and a network you trust. But for this specific job, a local MQTT route is usually a cleaner fit than webhooks or third-party cloud automation chains.
Quick Comparison
| Image | Product | Best fit | Link |
|---|---|---|---|
 |
Home Assistant Green Smart Home Hub | Home Assistant Green is a dedicated way to run Home Assistant locally without building a server from scratch. It is a practical fit if your PC sensor setup needs a stable hub that stays on all day. | Check Price on Amazon |
 |
SONOFF Zigbee 3.0 USB Dongle Plus | A Zigbee USB coordinator is useful if your office automations also depend on Zigbee motion sensors, switches, bulbs, or plugs. It keeps the PC context sensor as one part of a broader local Home Assistant setup. | Check Price on Amazon |
 |
Philips Hue Gradient Lightstrip | A smart lightstrip can make PC-aware automations more visible, especially for desk bias lighting or meeting scenes. Choose one that fits your existing lighting ecosystem and check whether it needs a bridge for the features you want. | Check Price on Amazon |
 |
Aqara FP2 Presence Sensor | A presence sensor can complement PC lock, idle, and microphone state when deciding whether an office is really occupied. It is most useful when you want a non-camera signal for people sitting still at a desk. | Check Price on Amazon |
As an Amazon Associate I earn from qualifying purchases.
What you can expose to Home Assistant
The exact list depends on the Windows companion app you choose, but PC-to-Home Assistant tools commonly focus on sensors and commands. Sensors report information from the PC to Home Assistant. Commands let Home Assistant ask the PC to do something, such as run an action, control media, or trigger a script.
For room automation, the most useful signals are usually boring ones:
- Session state: whether the PC is locked, unlocked, idle, or recently active.
- Microphone or webcam state: useful for meeting indicators or do-not-disturb scenes.
- Active process or named window: useful when you want different behavior for games, video calls, media apps, or focus work.
- CPU or GPU load: useful as a supporting signal, though it should not be the only condition in most automations.
- Volume or media state: useful for speaker automations and room scenes.
A good rule of thumb is to expose only the states you actually plan to use. It is tempting to publish every available metric, but that creates clutter and can make future troubleshooting harder.
Automation ideas that actually solve desk problems
The best automations are the ones that remove a recurring irritation. Start with a small number of rules and make them easy to reason about.
Keep the office lights from timing out
Motion can turn the office lights on when you enter. After that, the PC can help decide whether the room is still occupied. If the workstation is unlocked or has recent input activity, Home Assistant can delay the “turn lights off” action even when the motion sensor has stopped reporting movement.
This is more reliable than simply raising the motion sensor timeout to an hour. A long timeout wastes energy when you leave. A PC-aware timeout can be shorter because it has another signal to check.
Use meeting state for a do-not-disturb scene
If your chosen tool reports microphone or webcam activity, Home Assistant can use that as a meeting hint. A simple automation could set an office light scene, lower nearby speaker volume, or change a small indicator light outside the room.
It is better to frame this as a hint rather than a perfect meeting detector. Microphones and webcams can be active for reasons other than calls, and some meeting apps behave differently. Test it with the apps you actually use before relying on it.
Change the room when you start gaming
A gaming setup can use process names, active windows, GPU load, or a combination of signals to trigger a different scene. For example, Home Assistant could lower blinds, set bias lighting, or change a desk lamp preset when a known game launches.
Avoid making this too fragile. A single GPU threshold can be noisy, and active window names can vary. A named process is often easier to maintain if you only care about a few games or launchers.
Turn things down when the PC locks
The lock state is one of the cleanest signals a workstation can provide. If you lock Windows before leaving the room, Home Assistant can fade office lights, pause an accessory scene, or start a short countdown before shutting off desk equipment.
This should usually be paired with a delay or a second condition. You may lock the PC while staying in the room, so it is worth checking motion, presence, or a manual override before turning everything off.
How to set up a Windows workstation sensor
The exact screens vary by tool, but the setup pattern is broadly similar. You need an MQTT broker, a Windows service or companion app, and a small set of sensor states published to Home Assistant.
- Check your MQTT broker. If you use Home Assistant OS, the Mosquitto broker add-on is a common local option. Make sure the MQTT integration is connected and that you have credentials for the client you are about to install.
- Install the Windows companion tool. Choose a maintained tool that supports the sensors you need. HASS.Agent is a common option for Windows users who want Home Assistant sensors, commands, notifications, and related features.
- Enter your MQTT settings. Use the local Home Assistant address or broker address, the MQTT port configured for your setup, and the MQTT username and password you created for this purpose.
- Select only useful sensors. Start with session state, microphone active, webcam active, process active, or active window if your tool supports them. Add hardware metrics only when they will drive a specific automation.
- Confirm discovery in Home Assistant. Once the client publishes its entities, check Devices & Services or the entity list to make sure the sensors are available and updating.
- Build one automation first. Start with the annoying behavior you want to fix, such as office lights turning off too early. Test that before adding meeting indicators or gaming scenes.
What to watch out for before you depend on it
PC state is useful, but it is not perfect presence detection. A computer can be unlocked while you are away. A microphone can be active outside a real meeting. A process can keep running in the background after you stop using it.
The most reliable automations combine signals. Motion, PC lock state, recent activity, door state, and manual overrides can all work together. You do not need every sensor in every rule, but you should avoid treating one PC metric as absolute truth.
Privacy is the other important consideration. Active-window and process sensors can reveal more about your habits than a motion sensor ever could. If all you need is “PC locked” or “microphone active,” do not publish full active-window data just because the option exists.
The practical buyer takeaway
Before buying another motion sensor to fix an office automation problem, check whether your PC can provide the missing context. A dedicated sensor may still be the right answer for entry detection, but it may not solve the “sitting still at a desk” problem by itself.
A local PC-to-Home Assistant setup is most useful for people who already run Home Assistant, are comfortable with MQTT, and want smarter behavior in a workstation-heavy room. If that describes your setup, the payoff can be immediate: fewer false empty-room events, better meeting cues, and lighting scenes that respond to the way the room is actually being used.